How to Take a Full-Page Screenshot on a Mac (Chrome)
macOS can’t capture a whole scrolling page on its own. Here are two ways that work in Chrome.
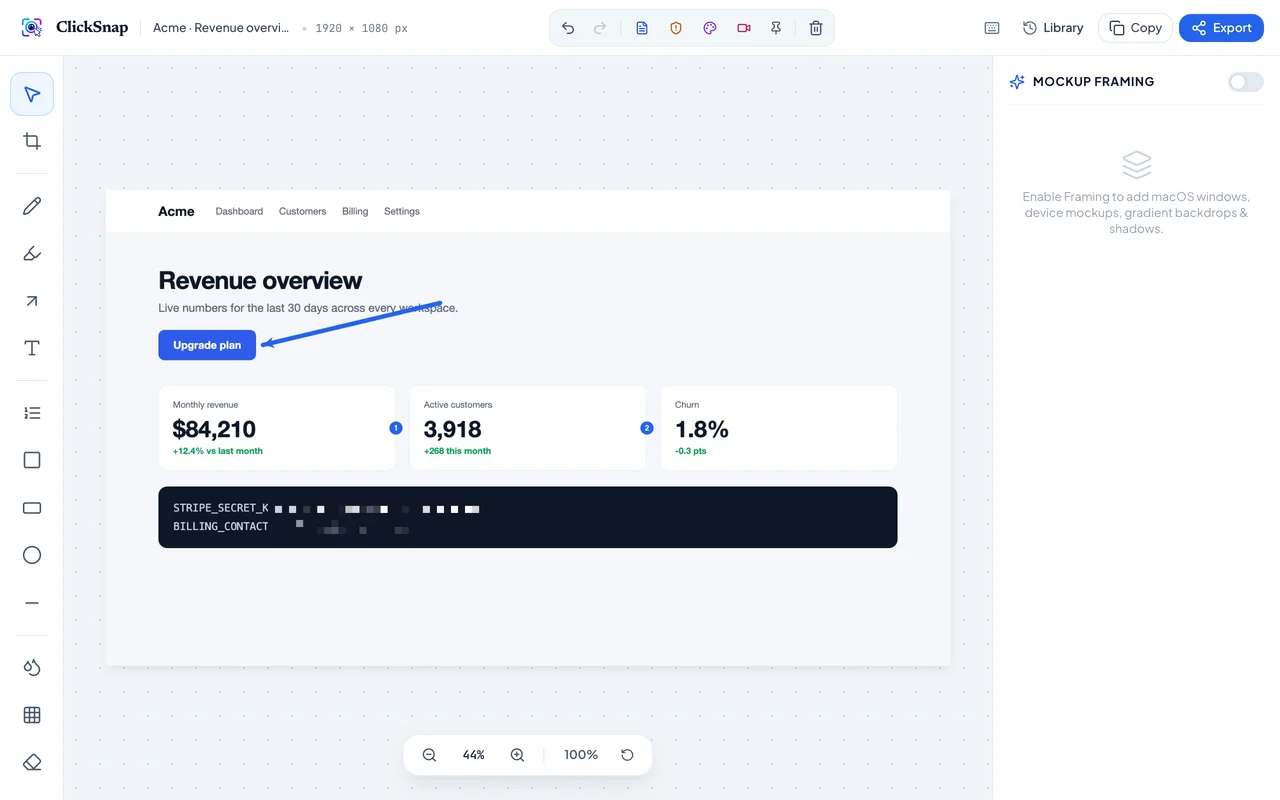

To take a full-page screenshot on a Mac in Chrome, install the free ClickSnap extension and press Option+Shift+F, or open DevTools (Cmd+Option+I), press Cmd+Shift+P, type “full size screenshot” and press Return. macOS’s own Cmd+Shift+4 and Cmd+Shift+5 only capture what is visible on screen.
Why Cmd+Shift+4 isn’t enough
macOS screenshots (`Cmd + Shift + 3`, `4` and `5`) capture the screen, not the page. Anything below the fold is missing. Chrome itself doesn’t have a menu item for a full-page capture either.
Method 1: ClickSnap (fastest, with editing)
- Install ClickSnap and pin it.
- Open the page and press `Option + Shift + F`, or click the ClickSnap icon and choose Full Page.
- ClickSnap scrolls the page, hides sticky headers so they appear once, and opens the editor.
- Press Copy and paste into Slack, Notion or Keynote, or export PNG, JPG, WebP or PDF.
Progress shows on the toolbar icon; press Esc to cancel.
Method 2: Chrome DevTools (built in, no editing)
- Press `Cmd + Option + I` to open DevTools.
- Press `Cmd + Shift + P` to open the command menu.
- Type full size screenshot and press Return.
- Chrome saves a PNG to your Downloads folder.
This works without installing anything, but sticky headers and lazy-loaded images can come out wrong, and there’s no way to annotate.
Which to use
- Once, quickly, nothing to install: DevTools.
- Regularly, or you need arrows, steps or blur: ClickSnap.
Using Windows or a Chromebook? See the Windows guide and the Chromebook guide.
Start capturing with ClickSnap today
Lossless full-page scrolling with smart sticky suppression, 14 annotation tools, and 100% private local storage.